This is the official guide on how to configure the Google Custom Search WordPress plugin. In this document you can find:
1. You need a Google Account
First of all you need a Google account. If you don’t have one yet, just register for free.
2. Set up a new Custom Search Engine
- Visit this page: www.google.com/cse/
- Click on the “Sign in to Custom Search Engine” button (big blue button on the top right)
- Login-in using your Google Account (from step 1)
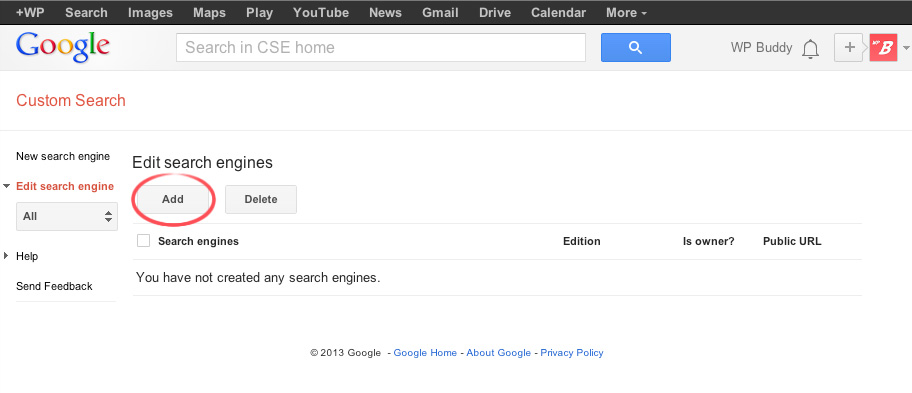
- Click the “add” button on the top to add a new custom search engine

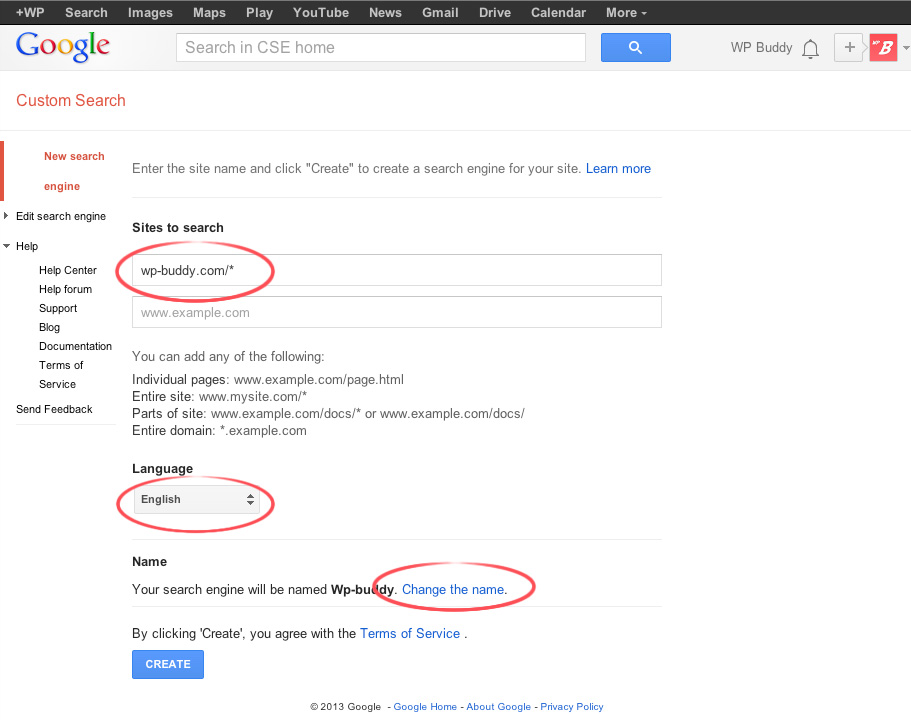
Click the add button to add a new Google Custom Search - A new area will appear. In the field where it says “Sites to search” enter your domain name followed by an asterisk (*) like this:
http://wp-buddy-web.local/*
Note: Do not forget the asterisk at the end! Otherwise the custom search engine will only search the homepage of your domain. - Also select your language and the name of the search engine:
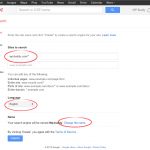
Select sites, language and name - The click the big fat “CREATE” button.
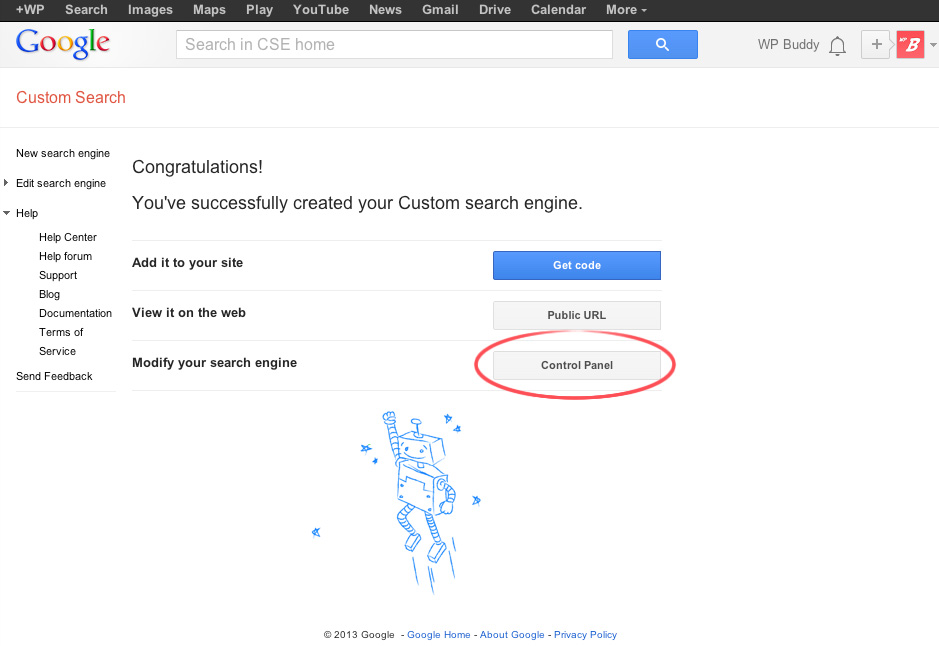
- After that three different buttons will appear. Click on the button which says “Control Panel”.
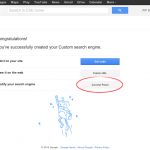
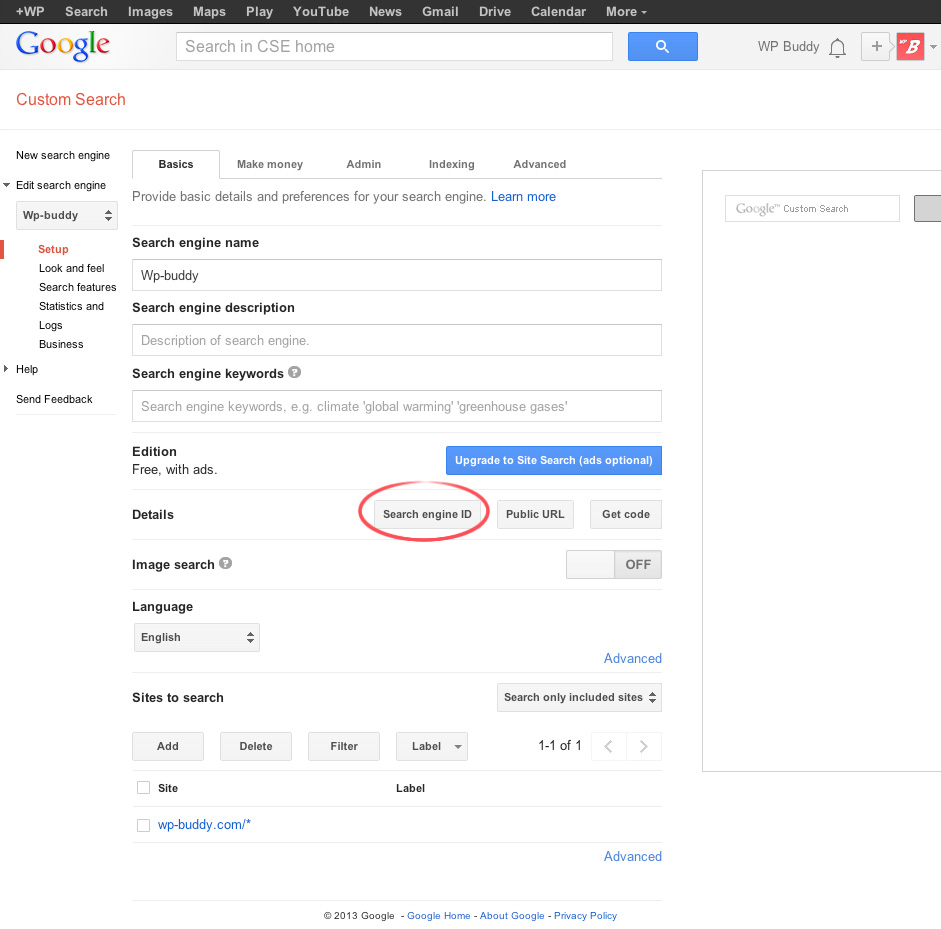
Click the Control Panel button - Then, hit the “Search engine ID” button:
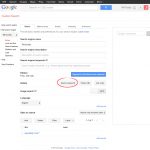
Hit the Search engine ID button - A little popup will appear that shows the custom search ID. Copy this string.
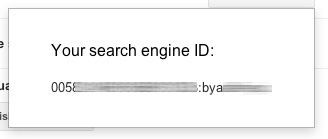
Google Custom Search Engine ID As a side information: The naming convention of this is a little bit confusing. The first part of the above mentioned code (before the colon) is your Google User ID, the second part (after the colon) is the engine ID. Altogether it’s called “search engine ID”.
- That’s it for now. You can go back to this Control Panel once you’ve finished setting this up.
3. Set up the plugin
- Install the Google Custom Search WordPress Plugin according to the documentation that came delivered with the plugin.
- Go to the new menu that appears in your WordPress Administration panel: “Google Custom Search Pro”.
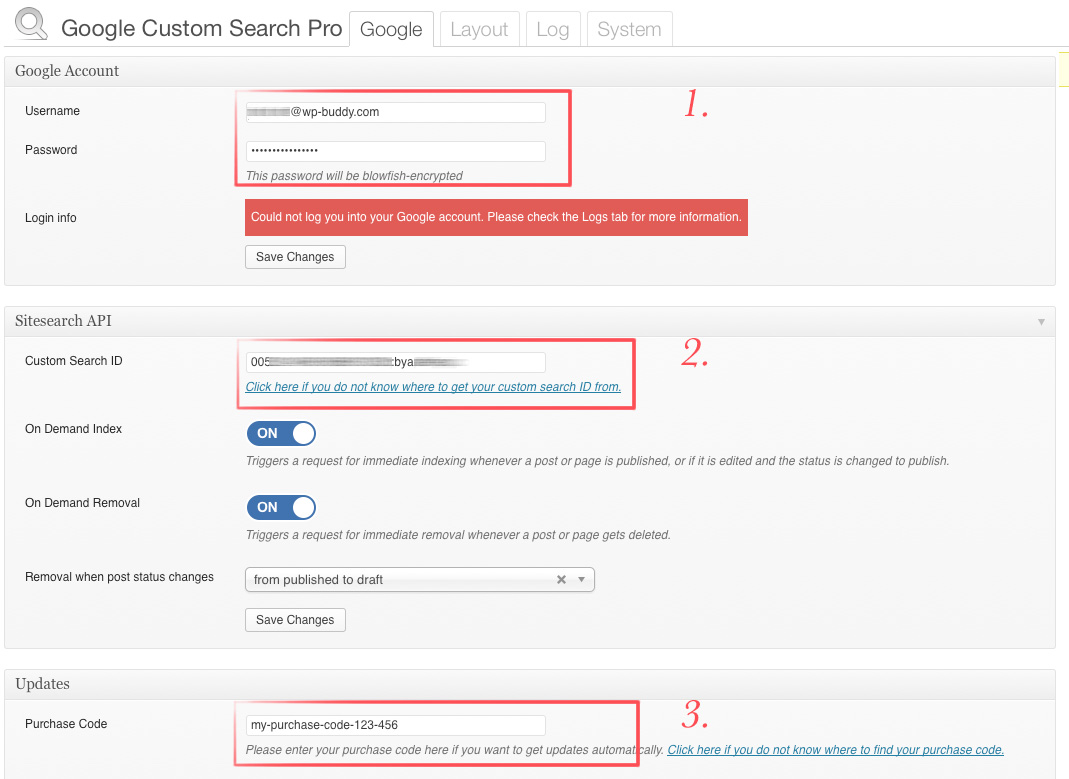
- Enter your Google Account credentials (1), your Custom Search ID (2) and your purchase code (3), like this:
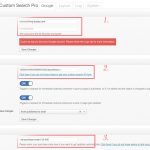
Custom Search WordPress Plugin Configuration Follow step 1 if you haven’t a Google Account already. Follow step 2 if you don’t have a custom search ID at this time and read this if you don’t know where to find your purchase code.
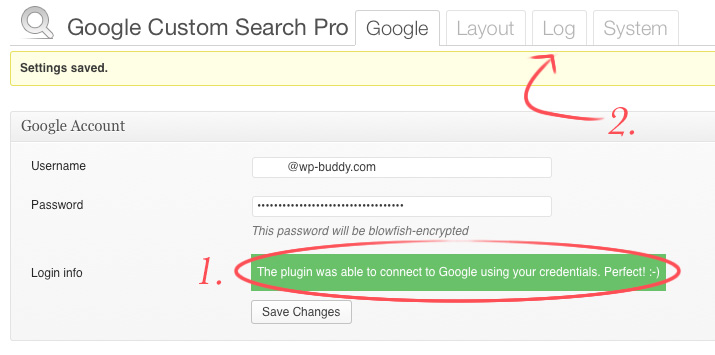
- Save your settings and check if the plugin was able to log itself in to your Google Account (1). If not, please click the log tab (2) to learn more about the error.
Google Account Login
- If everything is okay, click the “Layout” tab.
- Choose a search page by start typing at least three letters or just click the “Click here to create a new page” link to create a page instantly.
- Save your changes.
- That’s it pretty much. You can make a hell of a lot layout changes, but please not that some settings can only be activated if they also get activated right from the custom search control panel on google.com.
4. Set-up On-Demand-Indexing and On-Demand-Removal
With every custom search engine it’s possible to send new pages, posts or custom post types directly to the custom search engine index. This actions are called “on-demand-index” (to send new pages) and “on demand removal” (to delete pages from the index).
To activate this:
- Go to the “Google Custom Search Pro” menu in your WordPress administration panel
- Activate the On-Demand-Index and/or the On-Demand-Removal functionality on the settings page:
Configure the on-demand-index and/or on-demand-removal functionality
- The on-demand-index function is called when a post, a page or a custom post type gets published (hit the “publish” button when editing a page).
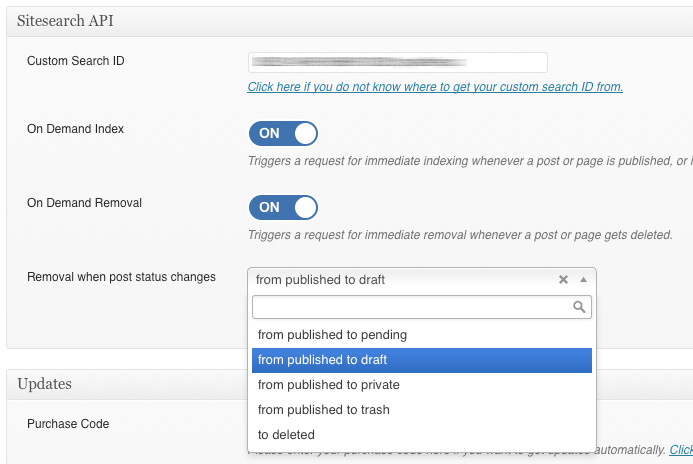
- The on-demand-removal function is called depending on what you’ve configured. There are some options available, like:
-
from published to pending
A post will be removed from the index when a post changes its status from published to pending. -
from published to draft
A post will be removed from the index when a post changes its status from published to draft. -
from published to private
A post will be removed from the index when a post changes its status from published to private. -
from published to trash
A post will be removed from the index when a post was moved to trash. -
to deleted
A post will be removed from the index when a post gets deleted.
-
from published to pending
5. Use the On-Demand-Indexing and -Removal functionality from the editing screen
It’s also possible to invoke the on-demand-index or on-demand-removal functionality right from the editing page (no matter if it was activated or deactivated on the settings page):

6. How to use your themes built-in search form
- Go to the “Google Custom Search Pro” menu that appears on your administration panel
- Click the “Layout” tab
- Scroll down to the “Custom search form” section
- Click the on/off button to turn this section to ON.
- Click the “Load your current themes search form” (only works if your theme has a search form template)
- Then replace the actions and labels with the appropriate fields as shown in this little video: